Question: Why Optimize Your Website?

Answer: So your website is faster and less expensive!
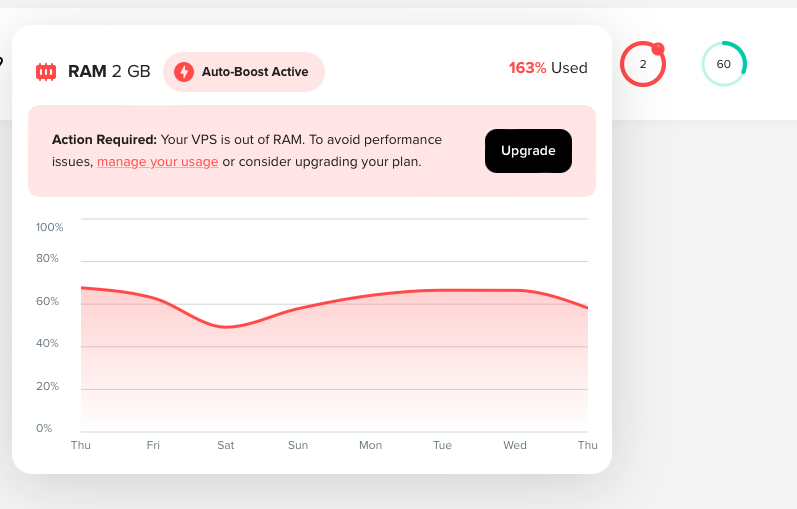
Our website hosting bill recently went from $38 per month to $70, because of the amount of RAM (memory) required by the sites we’re hosting.
Besides costs going up, websites that take more memory to run also tend to load more slowly, which can send new visitors back to the search page to find a faster loading website before they even see your content!
So that’s the WHY of optimizing, here’s the HOW…
How to Optimize Your Website
Most of the websites we are hosting are using WordPress for their content management. If you’re using WordPress, installing the following three (free) plugins will make a huge difference in your site’s performance:
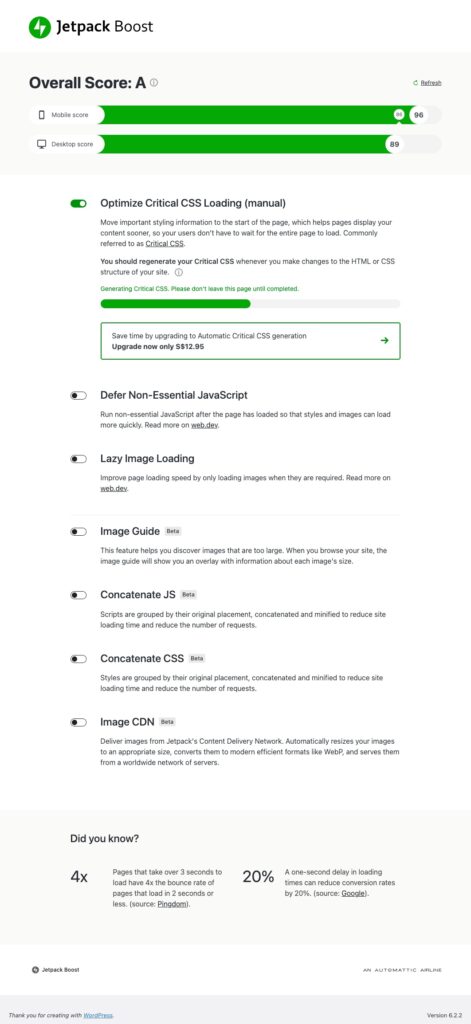
Step 1: Install and activate Jetpack Boost and turn on the following options:
- Optimize Critical CSS Loading (manual)
- Cache Site Pages
- Defer Non-Essential JavaScript
- Concatenate JS
- Concatenate CSS
After turning on those options, view your website and make sure nothing has changed with its appearance or functionality:
- The step that has the biggest impact on your site speed is the Cache Site Pages, so don’t turn this off unless absolutely necessary.
- If something doesn’t WORK quite right, you may be using a plugin that isn’t compatible with Concatenate JS, turn that option off and recheck functionality. If you still have a functionality problem, turn off Defer Non-Essential JavaScript and recheck.
- If something doesn’t LOOK right, you may need to turn off Itemize Critical CSS or Concatenate CSS.


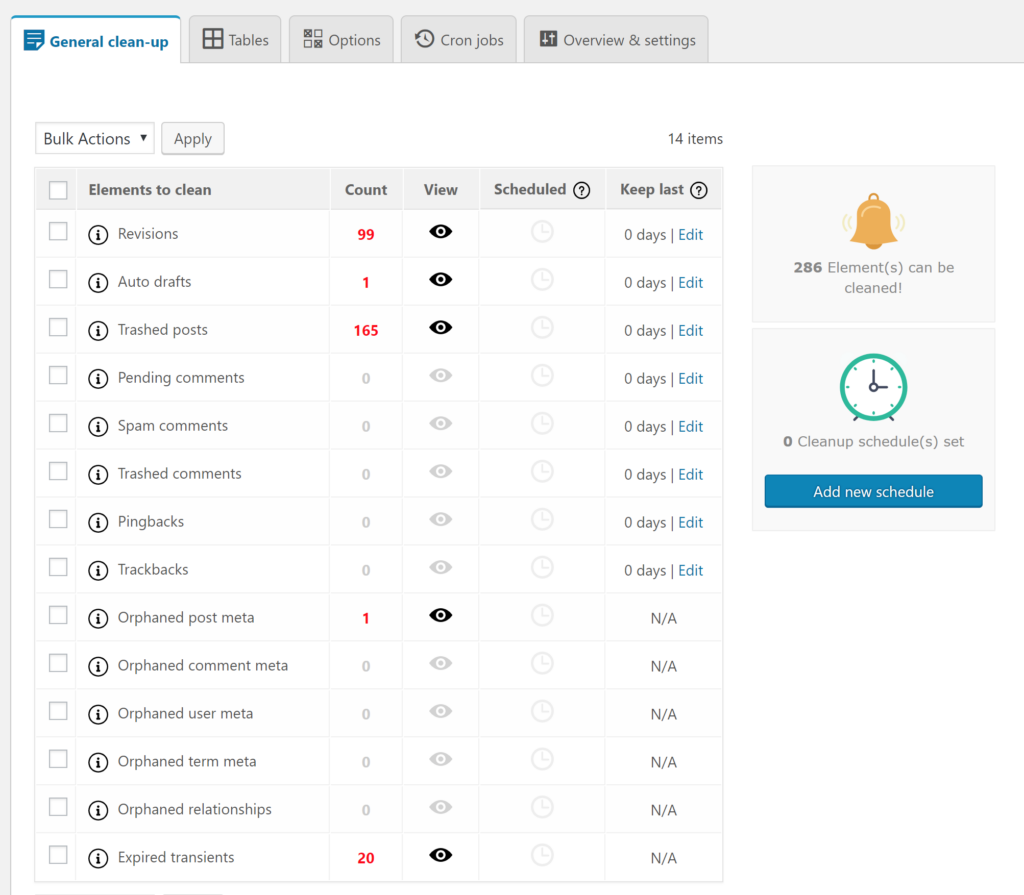
Step 2: Install and activate Advanced Database Cleaner and complete the following cleanup steps:
- Review General Cleanup tab and delete unnecessary data by checking the box next to the row and choosing Clean from the Bulk Actions dropdown menu.
- Review the Tables tab and select tables that show “Lost space” then choose Optimize from the Bulk Actions dropdown menu.
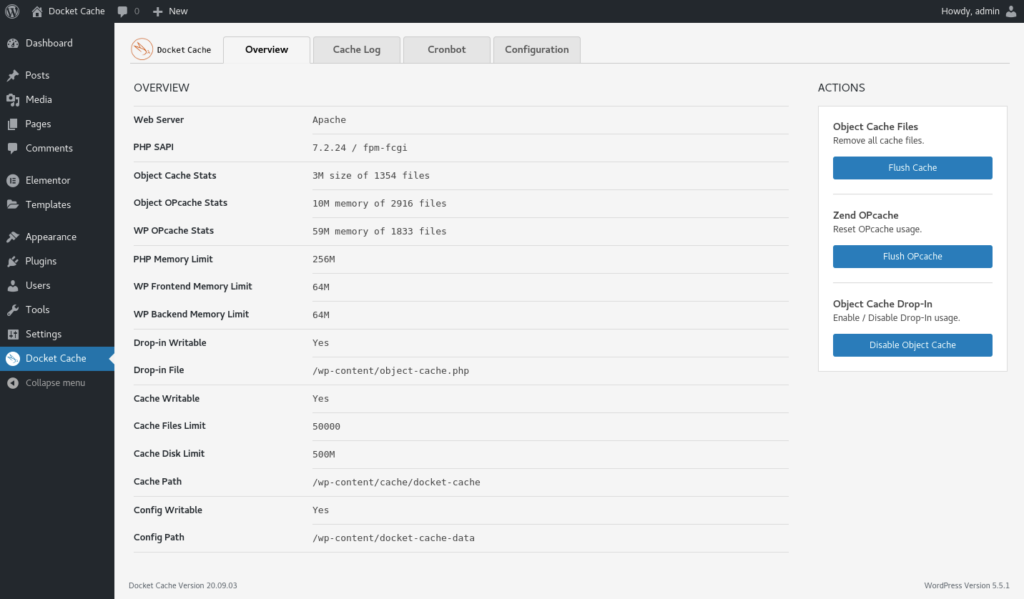
Step 3: Install and activate Docket Cache
All you have to do is activate the plugin and it does the rest for you!

Bonus Step
Review all of your installed plugins and deactivate and then delete any you don’t need. The more scripts your site has to execute before it loads, the slower it is going to be!